Showing posts with label Masking Tissue. Show all posts

Sunday, 7 August 2022

F is for Fabulous by Doreen

F is for Fabulous

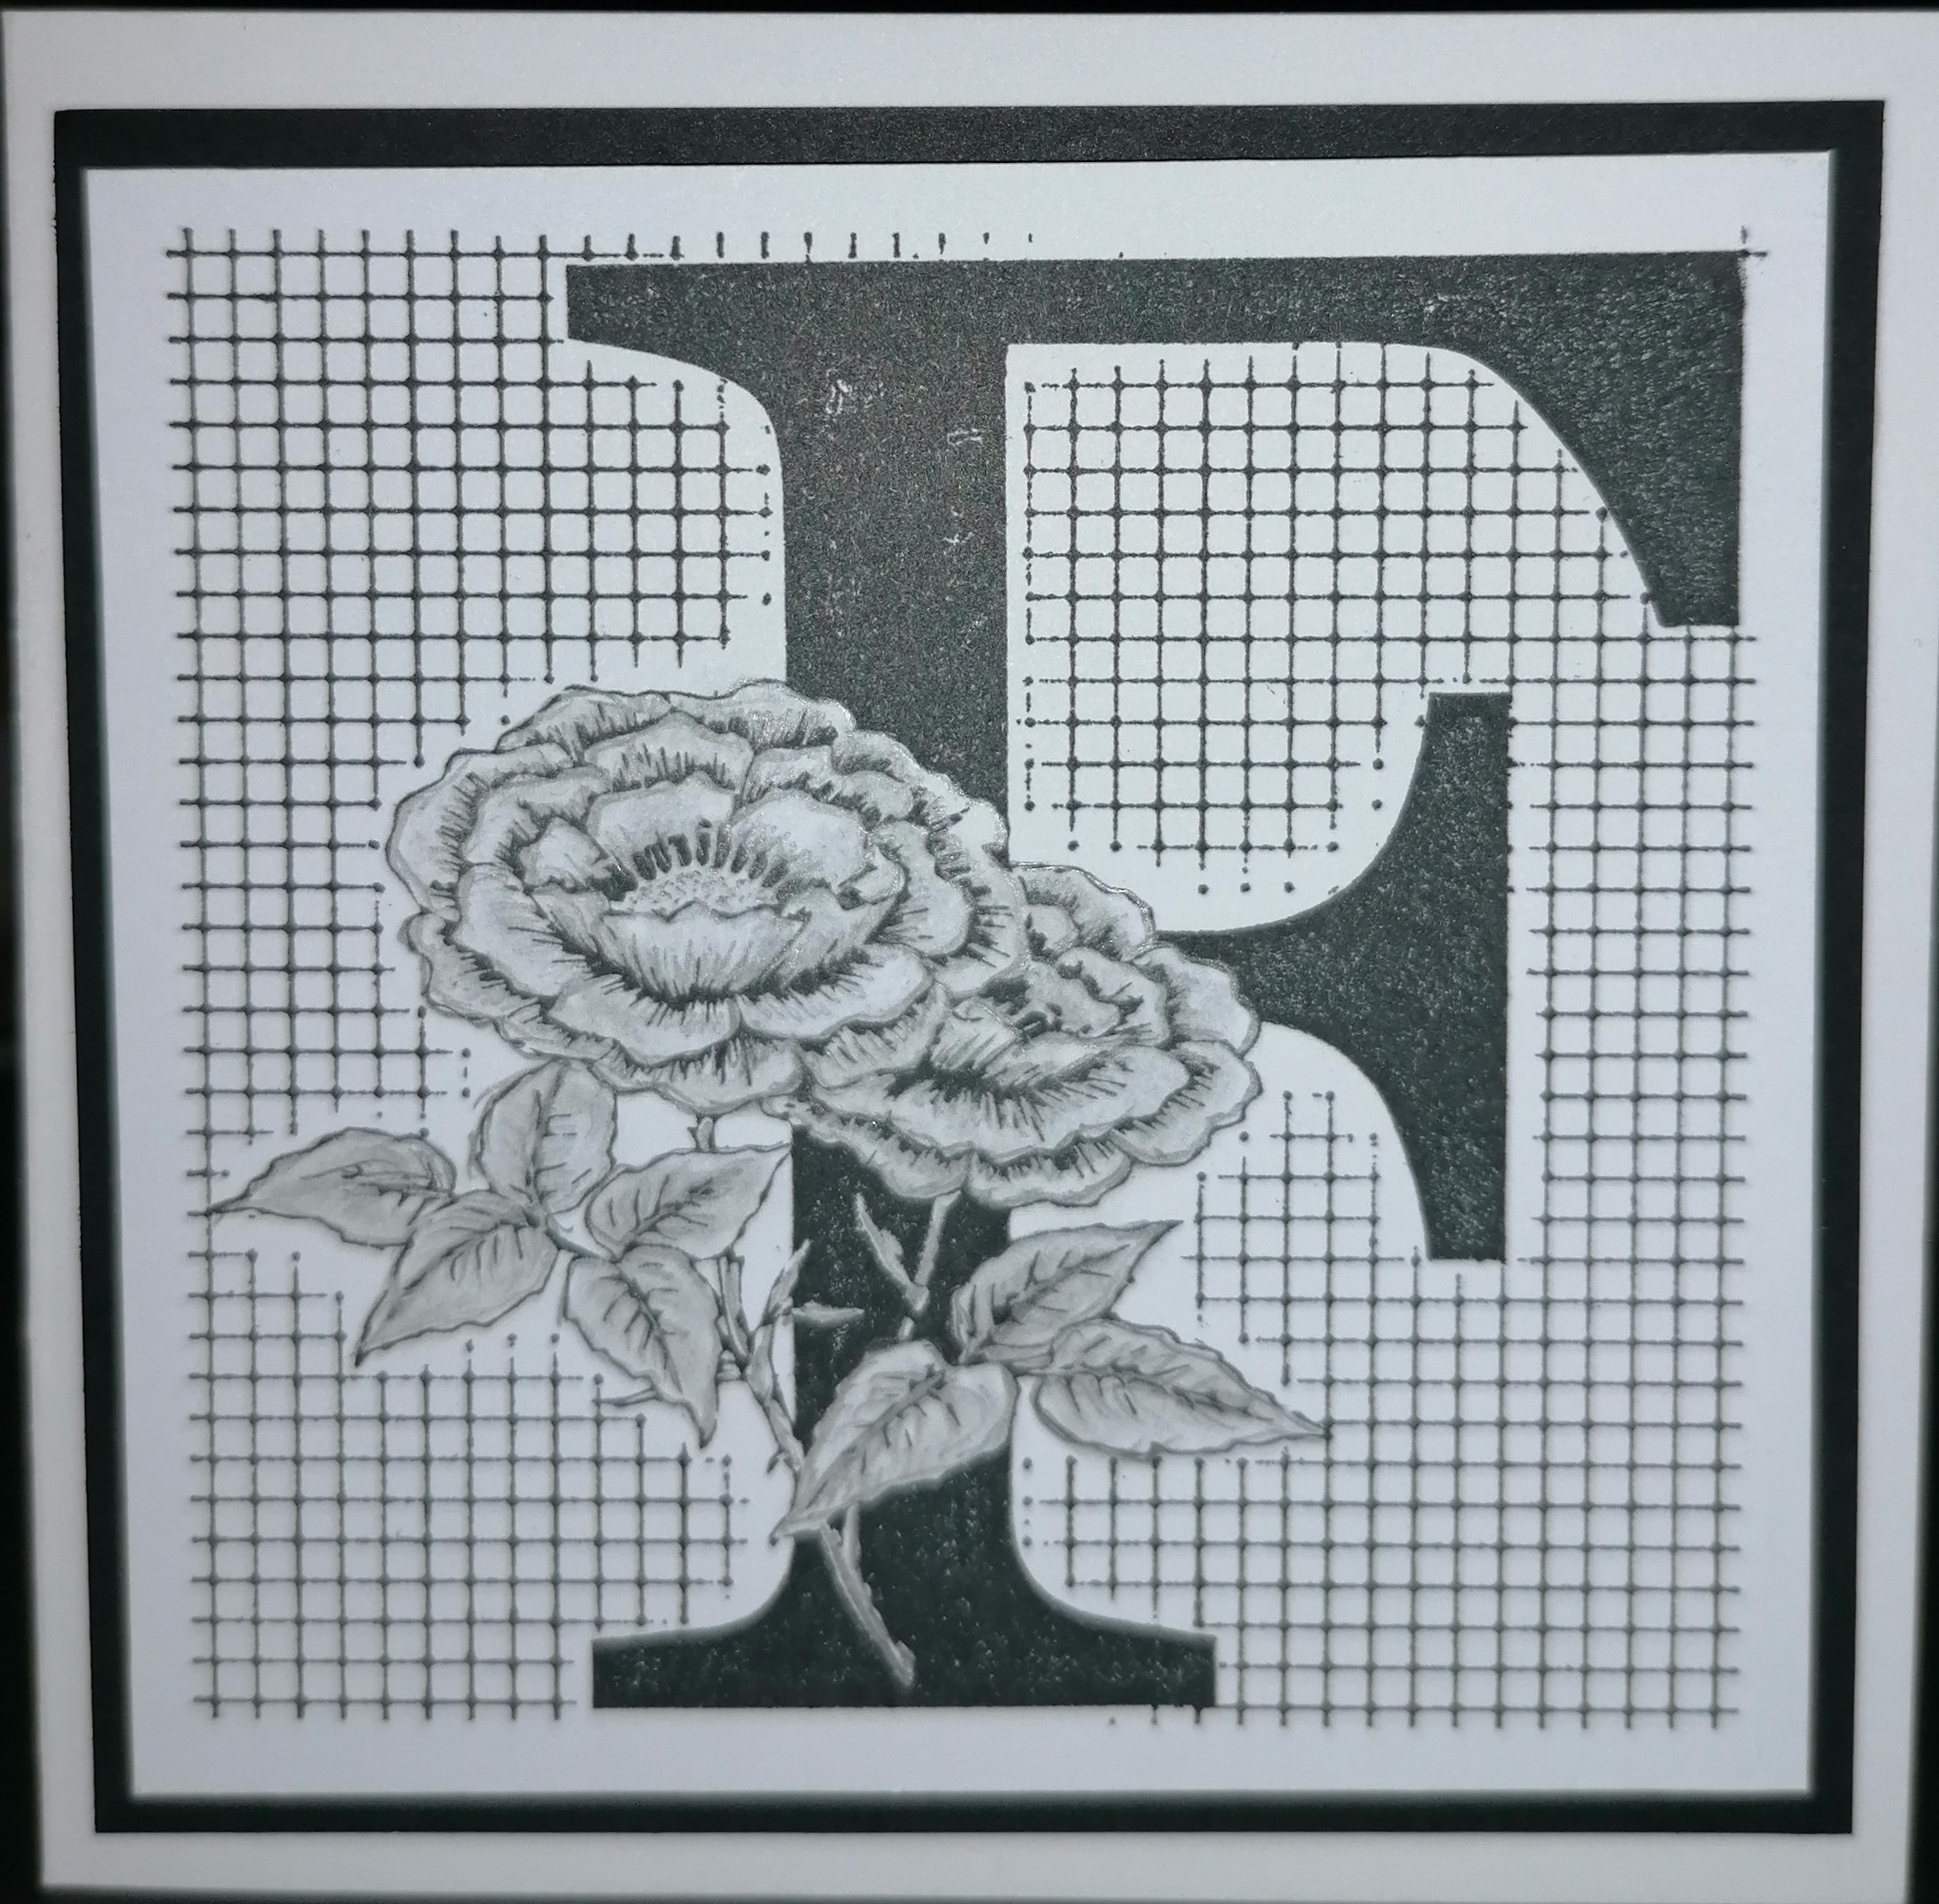
Well hello everyone and welcome to August a little late I know but better late than never. Today I would like to share a card with you that uses the F is for.... and the Small Graph Paper stamp set.


Firstly using Masking Tissue stamp in Versafine Clair Nocturne and cut out the image, then using the stamp again stamp onto a piece of card ensuring it is larger than necessary so as it can be cut to size later.

I heat set my image simply because of impatience and then cover with the mask, then take the Small Graph Paper stamp the image over the top of the masked area. Cut the card to size leaving a little border around the F is for and Small Graph Paper.  To add some depth to the image I used a graphite pencil. Then apply to the Black Card.

Once card has been mounted I decorated the envelope with a stamp of random dots and the word from the F is for .... set


Thank you for looking in today 

Love Doreen


Monday, 7 March 2022

Double Delight by Doreen

 Double Delight


Today I would like to share with you this card, I do like long slim cards. 


This card uses the Floral Delight  stamp set which is a single floral image. If you like one half of the photo above.
The background was coloured first using Distress Inkpads and blending brushes.
I then stamped onto Masking Tissue but not stamping the sentiments.
I splashed the background with water and then blotted with a tissue, quickly check this is dry by a brief heat gun dry.
Take a Black Inkpad to stamp one side of the card ( I have used Momento Tuxedo Black) then apply your cut out mask to the image and re-ink your stamp and line up as well as is possible with the image on the card slightly overlapping the stems this will not matter if it doesn't line up as well as you would like if you use an embellishment or stamped butterfly, maybe a a bow if you wish.
I used coloured pencils to colour the images.
With some of the card cut from the initial coloured card stamp your sentiments and cut them out, using a Black chisel ended permanent marker edge the card and sentiments. Apply to card separately on foam tape.

Thanks for looking in today 

Love Doreen

Saturday, 26 February 2022

A Trio of Lilies by Doreen

A Trio of Lilies

Hello everyone well here we are almost at the end of February such a short month I always find but that's probably because I usually find myself very busy what with one thing and another.

Today I will be sharing another DL set with you namely Lily not at all like any Lily I have ever seen but I really do think it is beautiful.


This may seem a little bright for some but I really felt they called for something a little different.
Firstly stamp out two of the large images onto Masking Tissue these need to be fussy cut and can be used more than once do not throw away the clear film as it will keep your mask safe. 
I used a half an A4 piece of card stamped two images of the Lily at a slight angle, cover these with your masks and stamp another Lily in the centre, peel away the masks. 
Stamp the smaller images and then the silhouette image to fill in the gaps this also adds depth to the card.
Colour using pens or pencils of your choice these were coloured using a vibrant selection from my Koi colouring Brush Pens.

Thank you for looking in Today 
Love Doreen 


Wednesday, 10 November 2021

Autumn Leaves

 Autumn Leaves

Hello once again everyone, well I can hardly believe we are already into the second week of November, did someone fast forward the clocks since the end of August because it certainly feels that way to me !! 

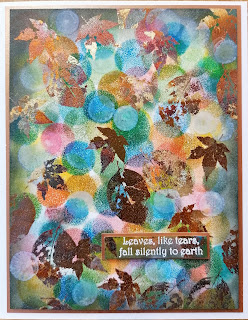
Today I would like to share my four samples using the From Nature 1.Such a beautiful set of stamps.The first is such a simple card simply made using a multicoloured inkpad, masking tape, fineliner pen and a gold gel pen.

Mask off the area you want using the tape making sure that there is enough tape either side of the area for stamping, if the there isn't simply use another strip of tape. Stamp using a multicoloured ink pad or if you haven't got one use a few autumnal coloured pads to get the effect desired.

Remove the tape carefully once the ink is completely dry, using a ruler outline the stamped area with a fineliner pen, I added a second line a few millimetres away from the first one as I felt it added more dimension. The word Nature was stamped on an offcut of card and the lines added to tie in with the faux panel. I used the Gold gel pen to highlight the veins on the leaves and to outline the word Autumn.

This card uses a selection of inkpads and gilding flakes plus Versamark and White Embossing powder, to apply the gilding flakes you will need a glue suitable to apply the gilding flakes to. Apply the inks using either a make up sponge to achieve the Bokeh technique. A dark ink used around the outside of the card helps to frame the design.


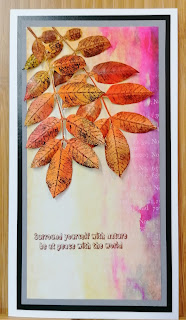
This card uses some printed card as a background and then the leaves were stamped and coloured using ink sprays, left to dry naturally and then cut out. Shape the leaves and apply to the card using glue gel.


This card also is stamped on to a printed card stock. I used a mask that I had stamped onto 

Masking Tissue fussy cut the image out, stamping the centre image first and then applying the mask before stamping the other images.


Thank you for looking in today

Love Doreen xx
 

Monday, 18 October 2021

Enchanting Echinacea

Enchanting Echinacea 

Hello all, today I will be sharing samples of the Echinacea Blueprint stamp set. The Echinacea has to be one of my favourite plants so pretty and they do last a lot longer than you would think if you deadhead them regularly.

For this first sample I made a mask of the heart and cut the Masking Tissue the same size as the topper which really helped when making both the heart itself and for masking the outside when using the stencil to make 'sunrays' inside of the heart, these masks can be kept for future use and will be used many times more yet.

I used Distress Inkpads to colour and Promarkers to add extra detail.


Here are a few more samples for you the Echinacea is a very easy flower to cut out so although you may not like fussy cutting this is not too fussy.


Thank you for looking in today, take care

Love Doreen